You don’t have to sacrifice your precious family time every weekend.
Professional landscaping services tailored for busy homeowners in Vancouver, Canada.
Send us your information and we'll help you plan your perfect yard
Our team will contact you within 24 hours for your free online consultation.
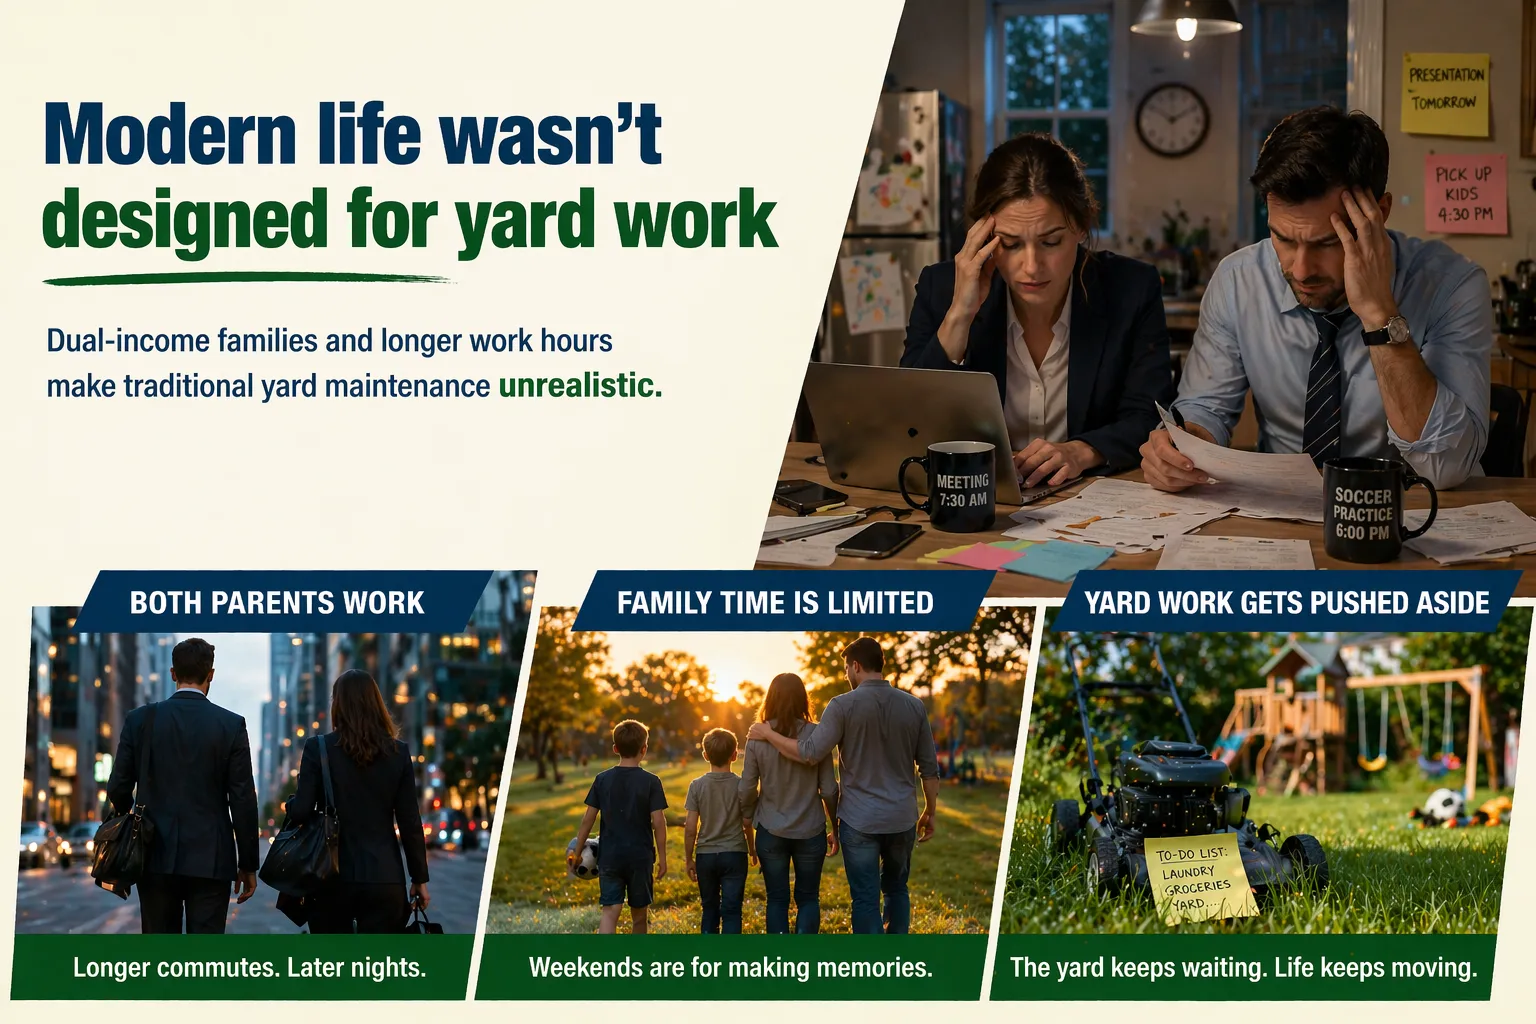
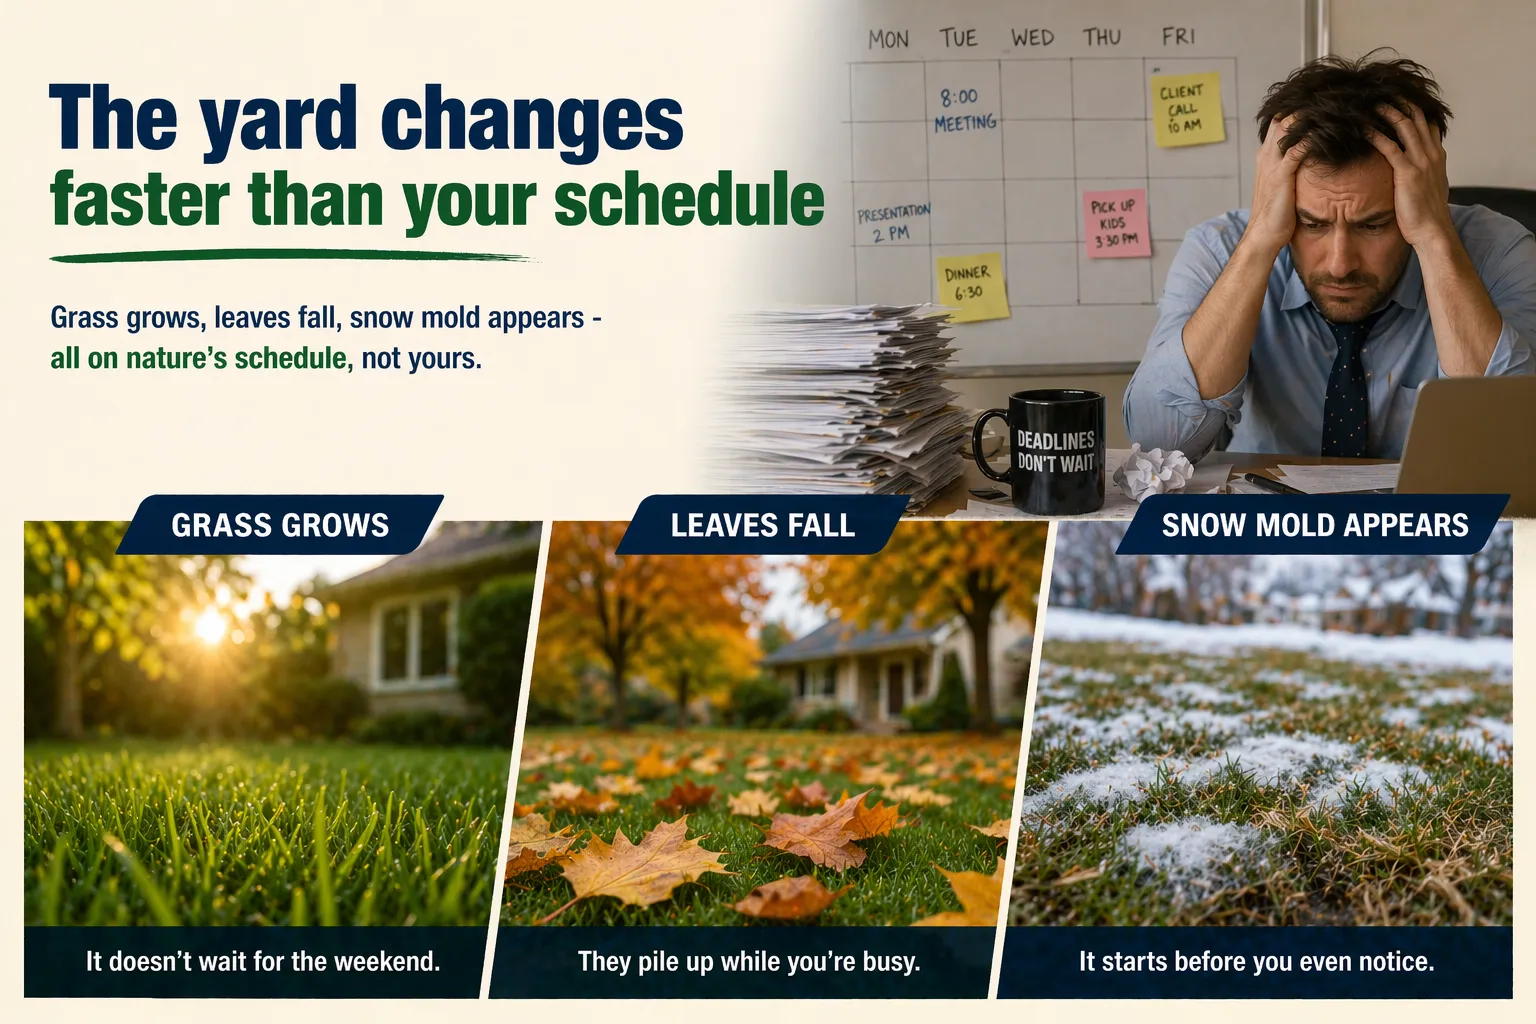
You're not lazy. You're just busy with work, kids, and real life. But your yard keeps stealing your precious free time.
Instead of relaxing with your kids, playing outside, or enjoying a quiet coffee on the deck… you're stuck mowing, weeding, watering, and cleaning up leaves - especially exhausting after long Canadian winters.
“Summer is passing again and my yard still looks like a jungle…”
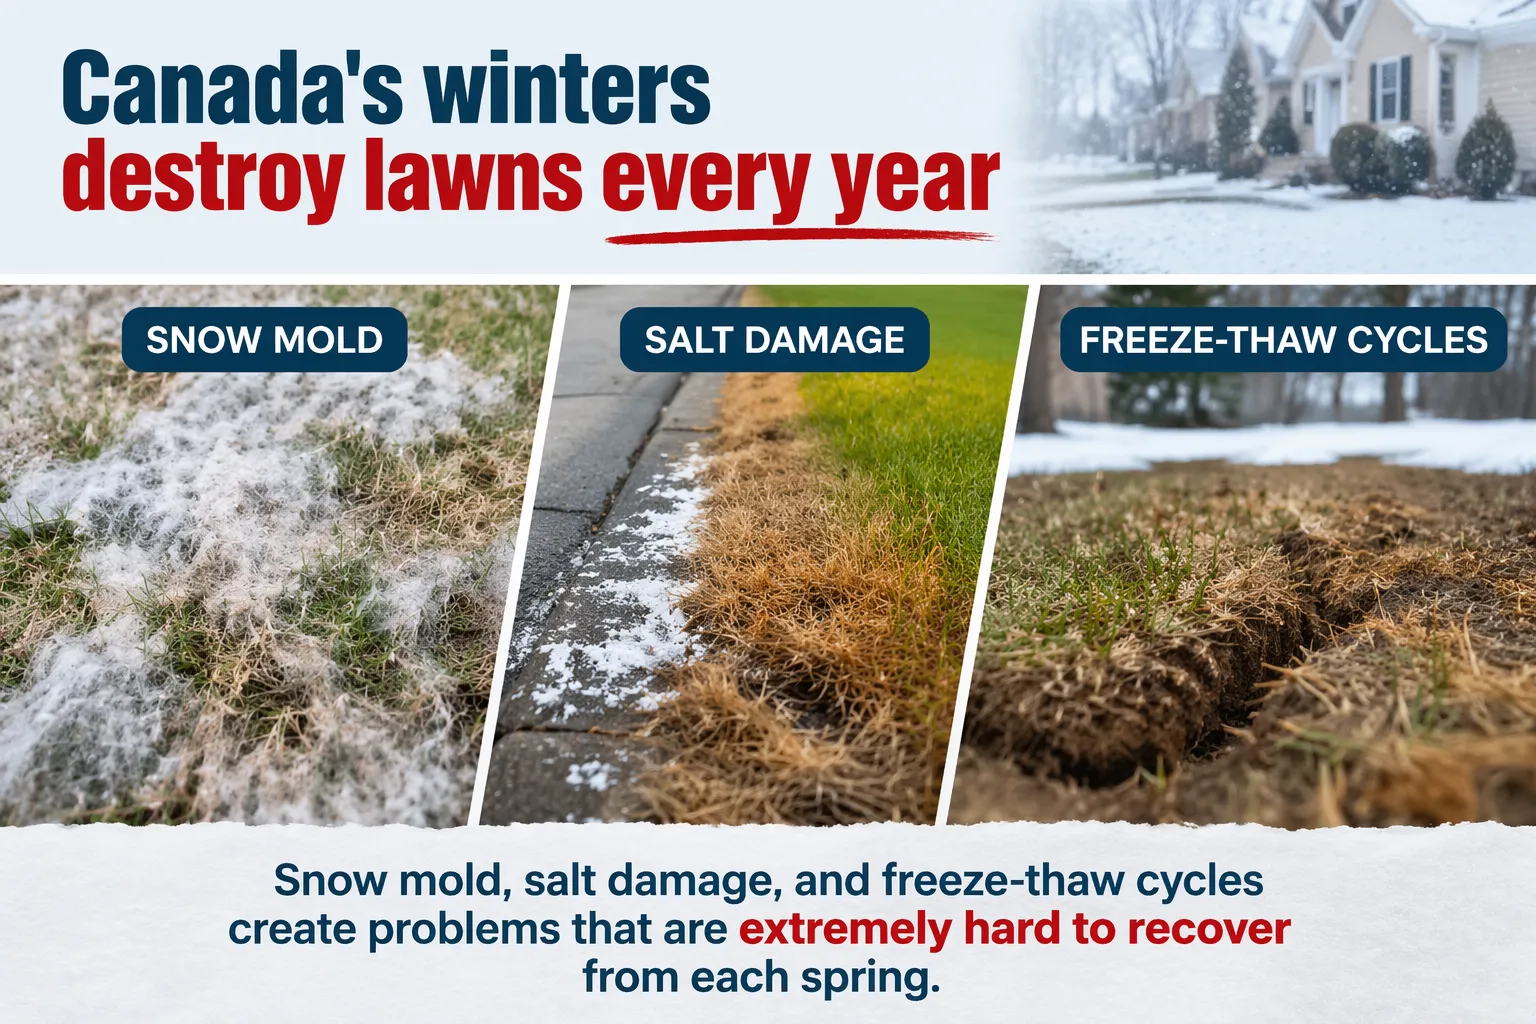
Snow finally melts and your yard turns into chaos: dead grass patches, mud, dead leaves, and broken branches. It looks terrible and takes days to fix.
“After the snow melts, the grass is dead in patches and the snow mold is horrible.”
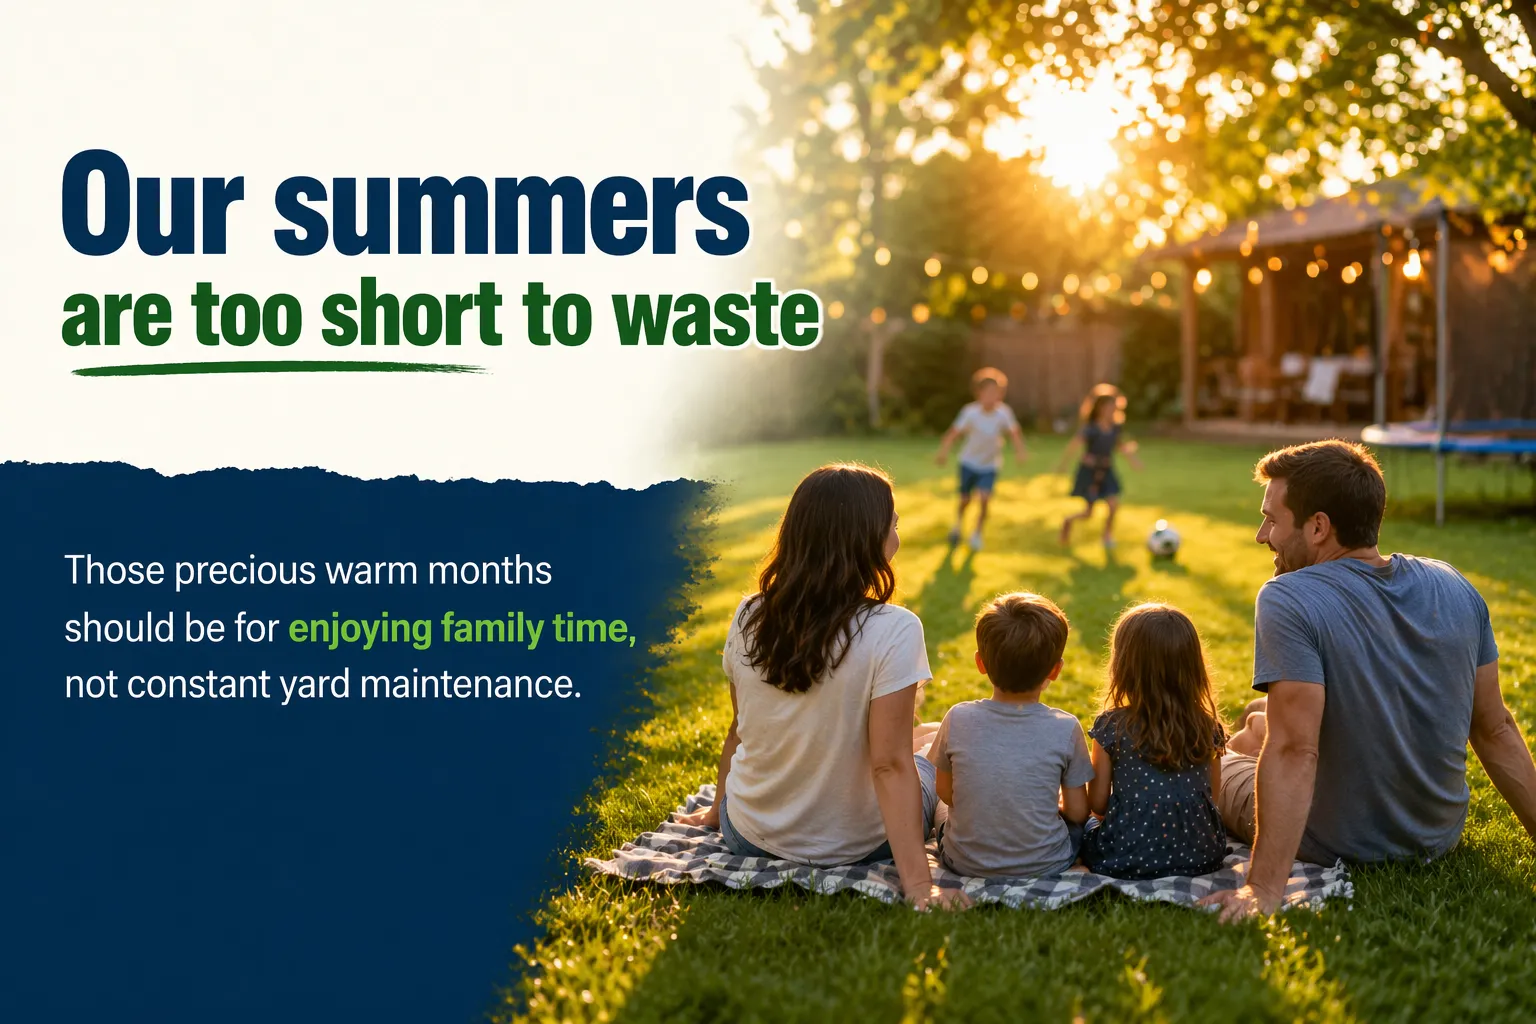
We only get a few precious months of good weather each year. Instead of enjoying BBQs, watching your kids play, or simply relaxing - your yard feels like another full-time job.
“Our summer is so short, but instead of enjoying it, I spend all my weekends working on the yard.”
You feel awkward when your neighbours have neat, beautiful yards, or when friends and family visit and your front or backyard looks unkempt. It hurts your curb appeal and confidence.
“I feel embarrassed when my neighbours have nicer yards than mine…”
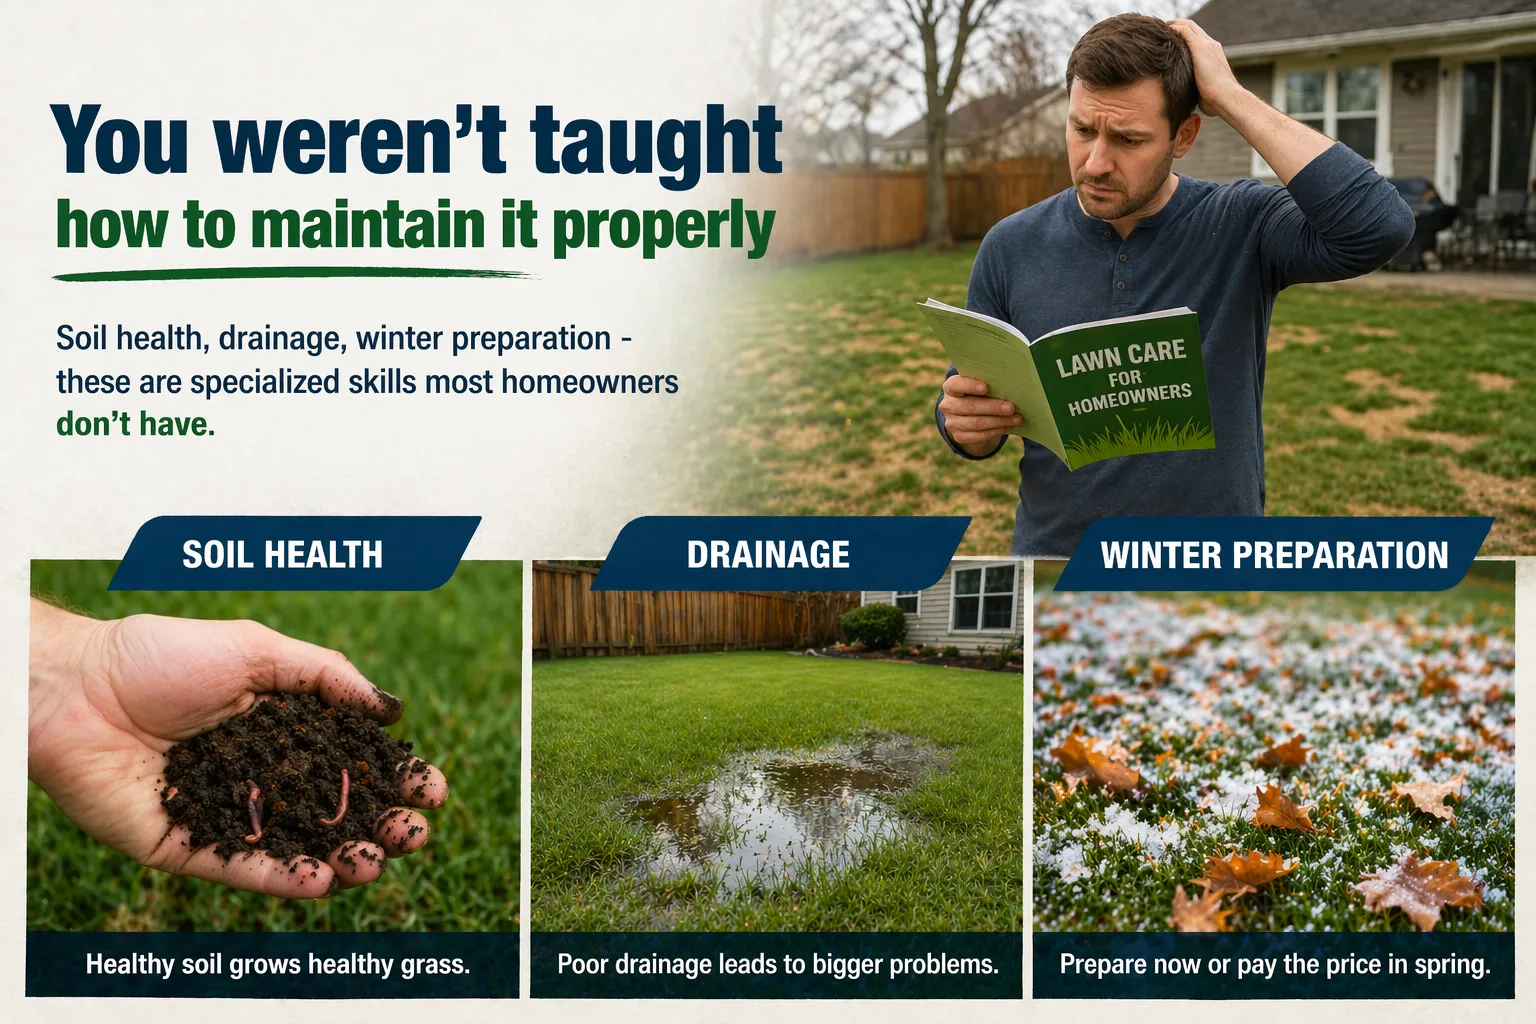
A neglected yard hurts your property value - something very important in Canada. You also worry about drainage problems, salt damage from winter, and dead patches getting worse every year.
“I’m worried that a messy yard is hurting our home’s value, especially when we think about selling one day.”
The never-ending mental list: “I still need to cut the grass… clean the leaves… fix the dead spots…” It drains your energy and steals quality family time.
“I’m so busy, every weekend I have to mow the lawn and clean up leaves. It’s exhausting.”
You are not the only one feeling this way. Thousands of busy families across Vancouver, Calgary, Edmonton, Toronto and Ottawa feel exactly the same.
They're the result of busy modern life meeting Canada's tough climate

No more wasted weekends. No more guilt. No more stress.
Just a beautiful yard - all year round.
We help busy families in Vancouver, Canada enjoy a clean space, green, and beautiful yard.
Without lifting a finger on weekends.
Personalized plan for your yard
Send photos or a short video of your yard, or book a quick call. We’ll provide expert advice and an estimated quote so you can plan with confidence before starting.
Consistent care throughout the season
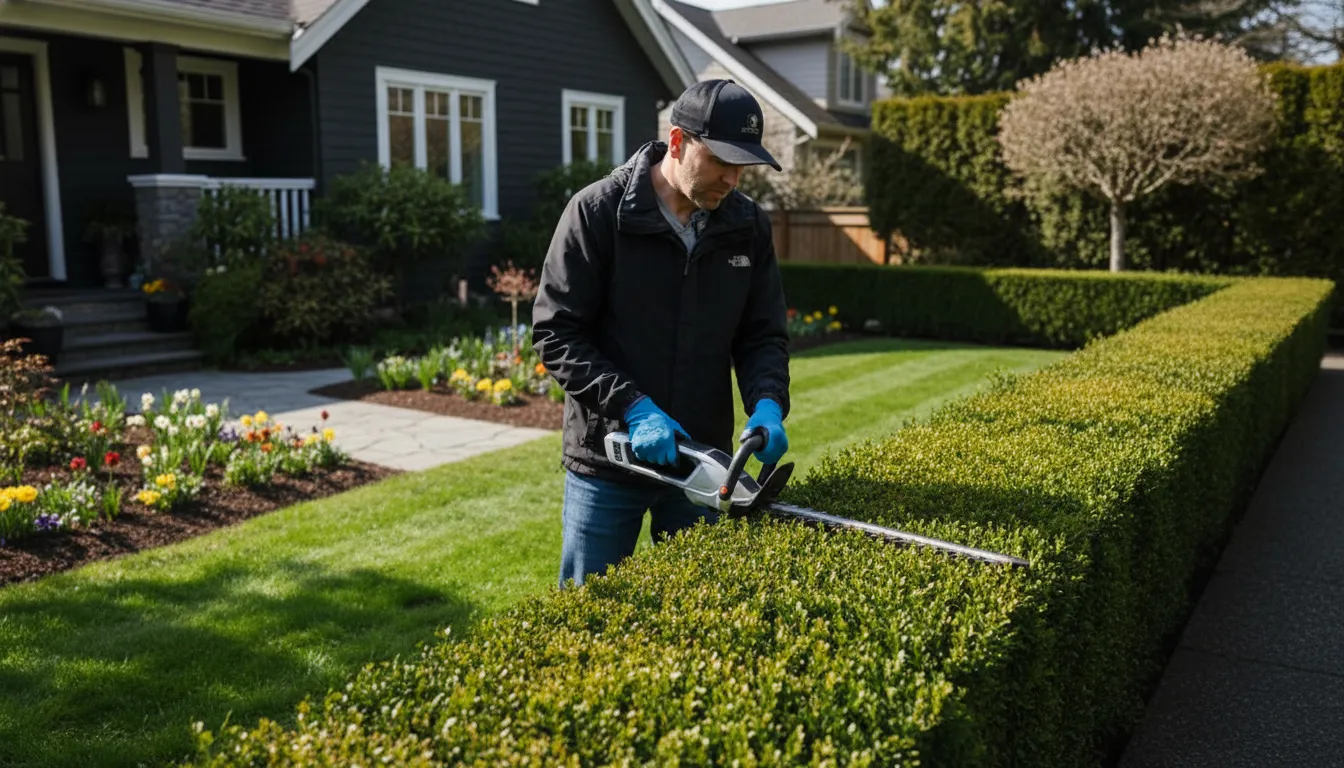
Weekly or bi-weekly care including mowing, edging, weeding, fertilizing, and seasonal adjustments so your yard always looks its best.
Clean, precise cuts every time
Expert mowing with proper techniques. We leave your lawn looking sharp, healthy, and uniform - every single visit.
Post-winter refresh & seasonal prep
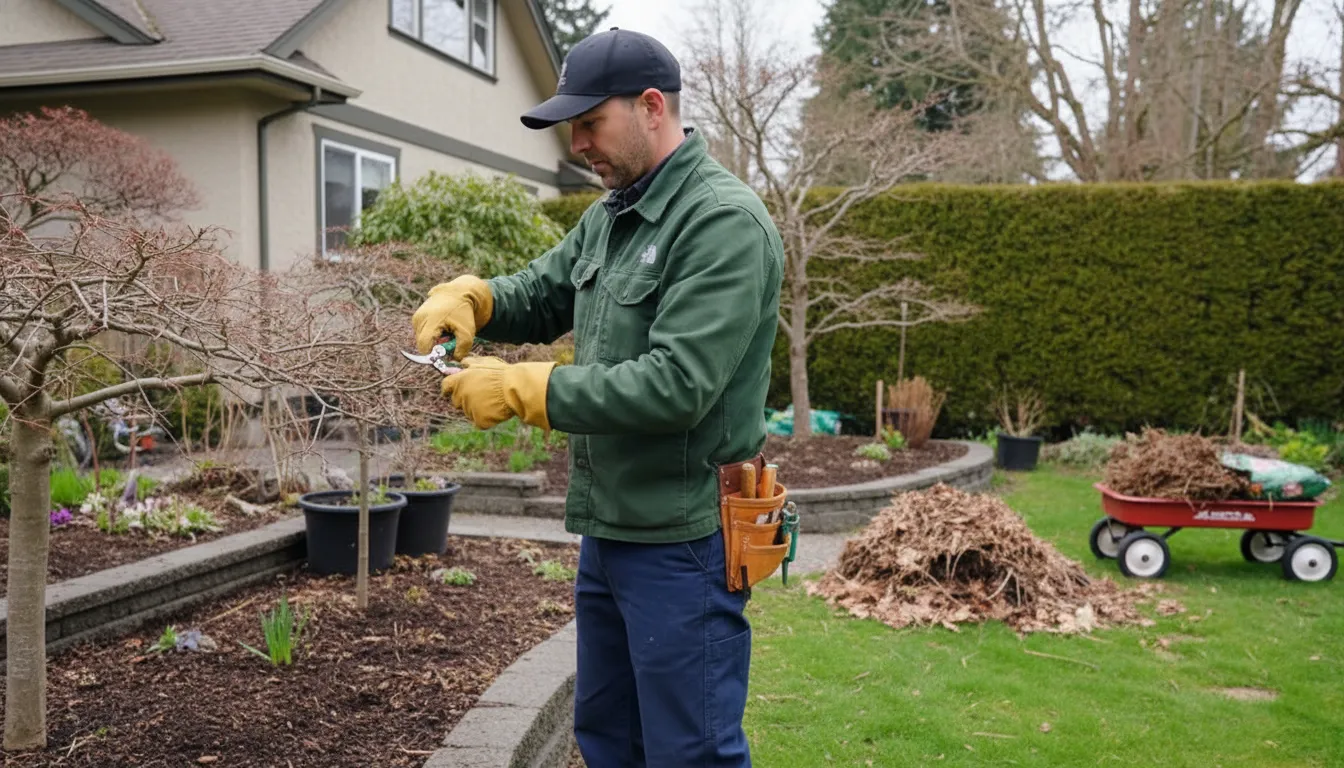
Thorough removal of winter debris, snow mold treatment, and basic tree & shrub care so your yard recovers beautifully every season.
Fresh nutrient-rich soil
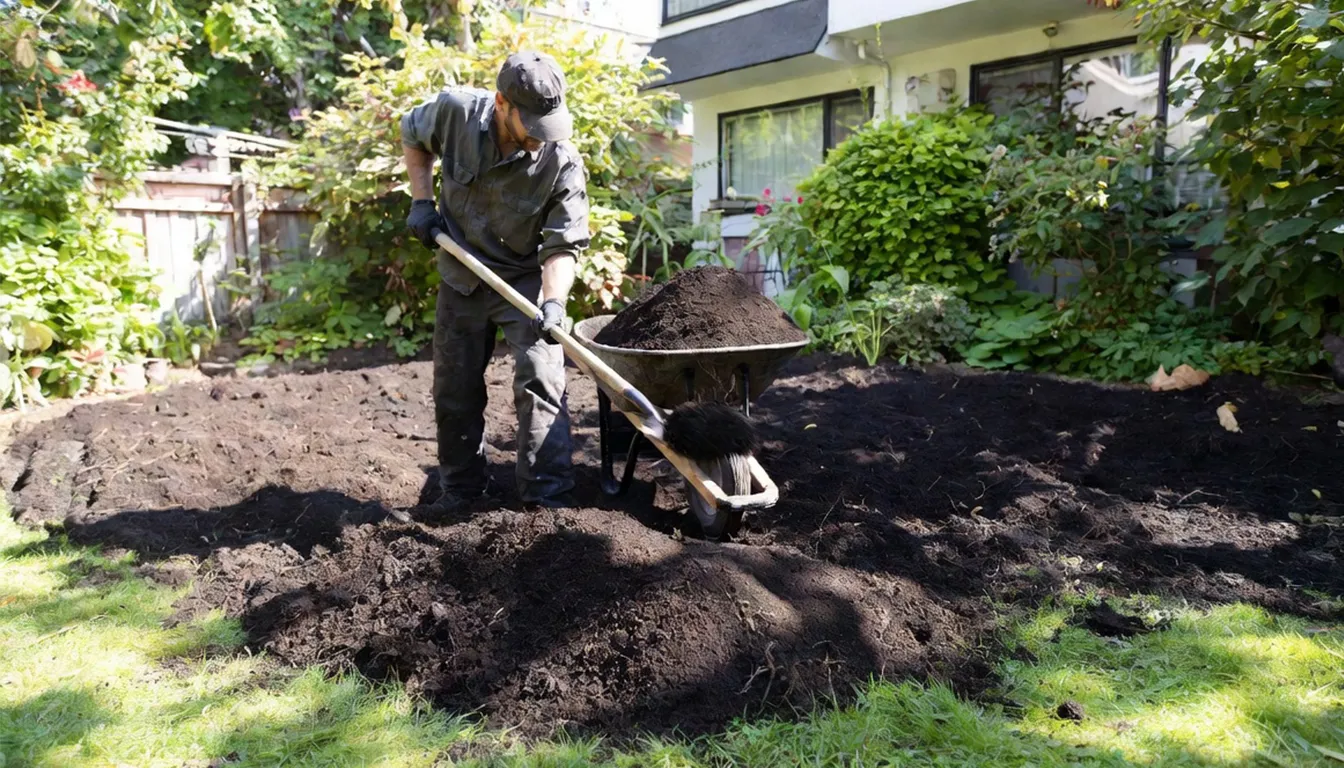
We remove old, depleted, or poor-quality soil and replace it with premium, nutrient-rich topsoil. This gives your plants, grass, and garden the perfect foundation to grow strong and healthy.
Natural weed control & moisture retention
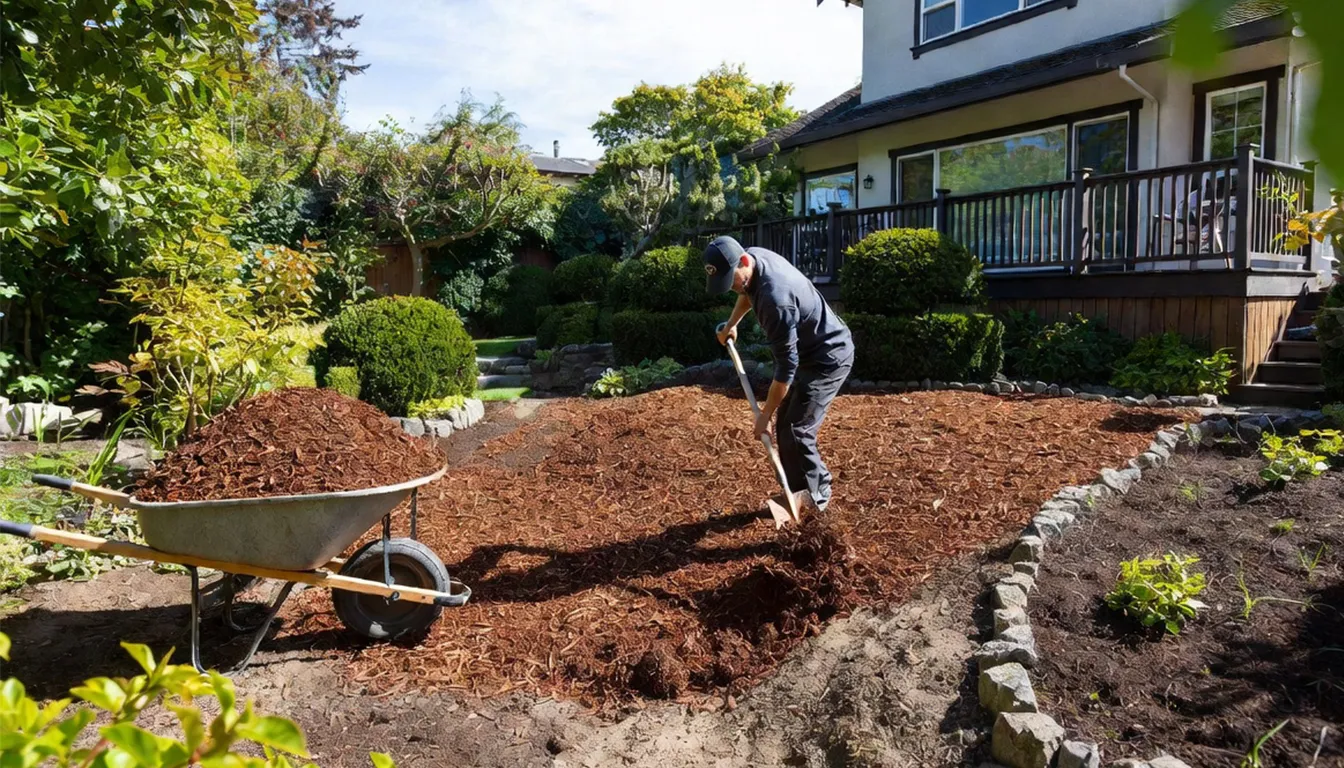
We apply a thick, even layer of bark mulch across your garden beds and soil surfaces, helping retain moisture, suppress weeds, protect roots from temperature extremes, and create a clean, natural look.
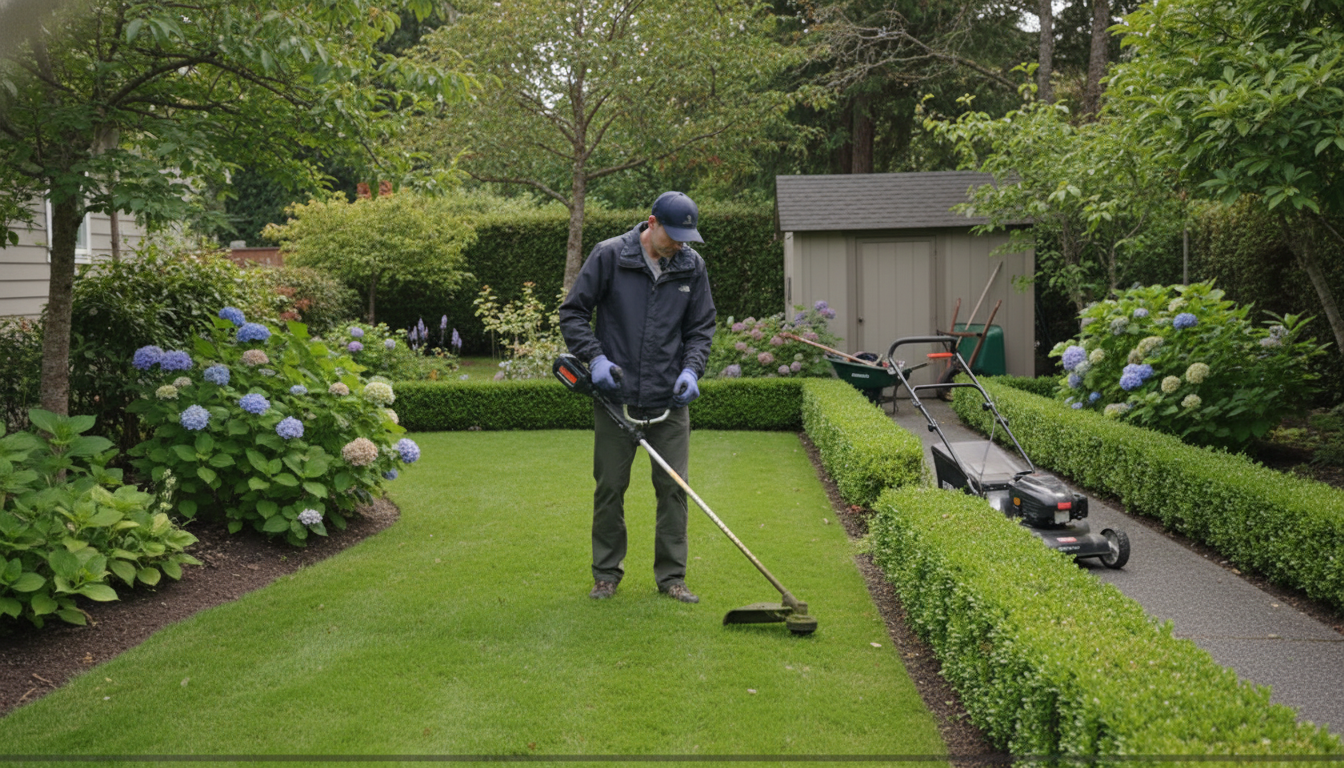
A yard that looks professionally maintained from spring through fall - without you doing the work.
No more spending Saturday mornings mowing. Use that time for family and rest.
Enjoy higher curb appeal and the confidence that your property looks its best.
Ready to finally enjoy your yard instead of working on it?
Send Photos For Free EstimateSee what busy homeowners in Vancouver and surrounding areas are saying about their transformed yards
"We used to dread weekends because of the yard work. Now we actually enjoy our backyard with the kids. The team is always on time."
"After the first spring cleanup, our yard in Kitsilano looked completely different. We finally have time for BBQs instead of yard work."

"The transformation has been incredible. Our curb appeal improved dramatically and we no longer worry when guests come over."

"DH Landscape Solution is reliable and professional. Our lawn has never looked better. We finally feel proud of our backyard again."

"They transformed our neglected yard into a beautiful space where our kids love to play. Best decision we made for our home."
"Professional, punctual, and they really care about the result. Our neighbours even asked who we hired!"

"From the very first consultation, we knew we made the right choice. Our yard has never looked this good, even after winter."

"They handle everything so well. We just sit back and enjoy our beautiful garden now. Highly recommended!"

"The spring cleanup was outstanding. Our lawn recovered beautifully. We’re so glad we found them."

"Professional service from start to finish. Our neighbours keep asking who maintains our yard. We couldn’t be happier."

"We used to dread weekends because of the yard work. Now we actually enjoy our backyard with the kids. The team is always on time."

Professional service tailored for busy homeowners who want a beautiful yard without the stress.
Send photos and videos of your yard to receive a completely free online consultation.
If you want our expert to visit your home for a detailed on-site assessment and consultation, the fee is $199 per visit.
Book your on-site consultation early and enjoy 15% off the consultation fee.
Ready for a beautiful, low-maintenance yard?
Book your consultation today and enjoy our exclusive benefits.
Schedule Your Free Consultation TodayProudly serving homeowners across Vancouver and Greater Vancouver.
See the complete process of how we turn ordinary yards into beautiful outdoor spaces in Vancouver.

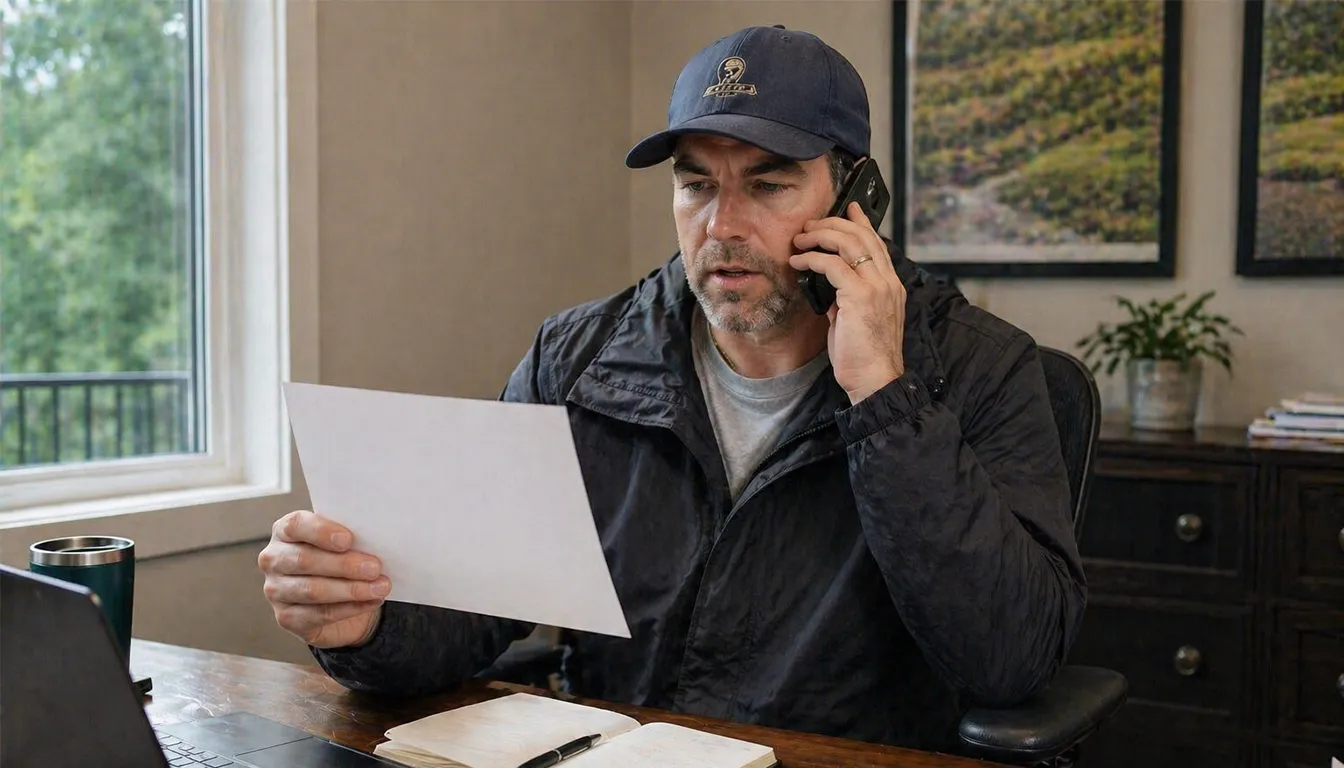
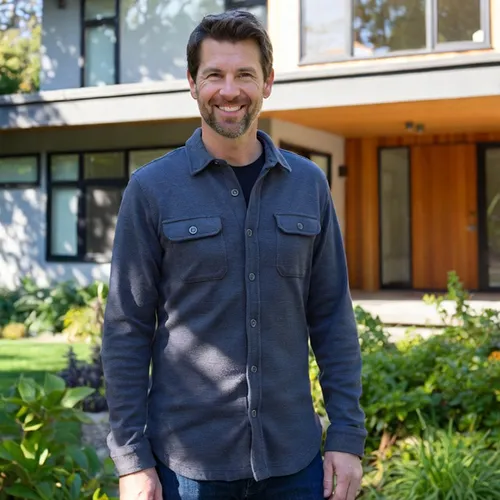
For more than 25 years, Darrell has been quietly transforming backyards and front yards across Vancouver and Greater Vancouver. From intimate urban gardens in Kitsilano and Yaletown to spacious family properties in Richmond, Burnaby, and West Vancouver.
What sets Darrell apart is his deep, firsthand knowledge of our local climate - the long rainy winters, heavy clay soils, coastal winds, and unpredictable seasons. He chooses plants and solutions that actually thrive here, year after year.
“I don’t want your yard to look good for just a few months. I want it to feel alive, healthy, and welcoming - even after a long, wet Vancouver winter.”
Every project is approached with genuine care and meticulous attention to detail. Darrell takes the time to understand how your family wants to use the outdoor space - whether it’s morning coffee, weekend barbecues, or kids playing safely.
Darrell H.
Founder & Lead Landscape Expert
25+ years creating beautiful, resilient landscapes in Vancouver
Meet personally with Darrell and receive expert advice tailored to your yard and lifestyle. No obligation. No sales pressure.
Schedule Free Consultation with DarrellHere are answers to the questions we hear most often from Vancouver homeowners.
Spring and early summer bring the perfect conditions for your new landscape to take root and flourish in Vancouver. This is when your yard has the greatest chance to establish itself strongly before the long rainy season returns.
Darrell’s calendar fills up very quickly during this ideal planting window. The sooner you begin, the more time we have to carefully plan and create something truly special for your home.
The earlier you start, the better we can design a yard that perfectly fits your lifestyle and thrives in Vancouver’s unique climate.
Book Free Call